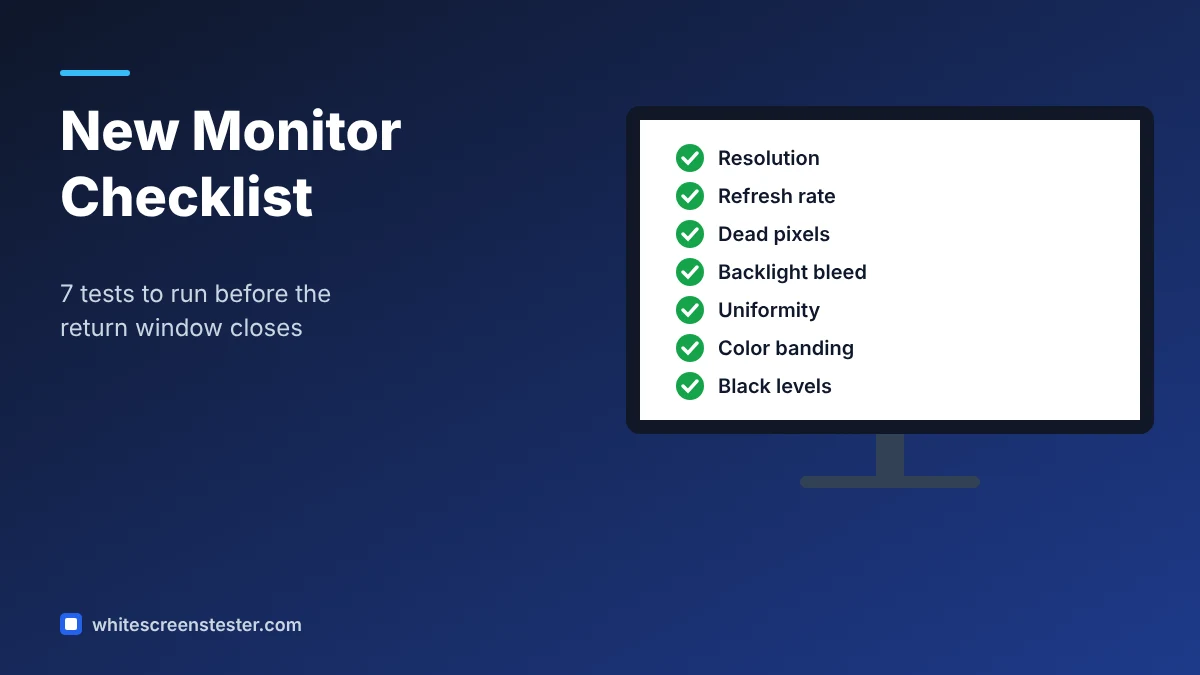
Most retailers give you a limited window to return a new monitor, and most panel problems are easiest to fix by exchanging it in that time. Running a few simple tests on day one can save you from finding a dead pixel or uneven backlight weeks later, when your only option is a slow warranty claim. Here is a checklist you can finish in about 15 minutes using free browser tools.
Before You Start
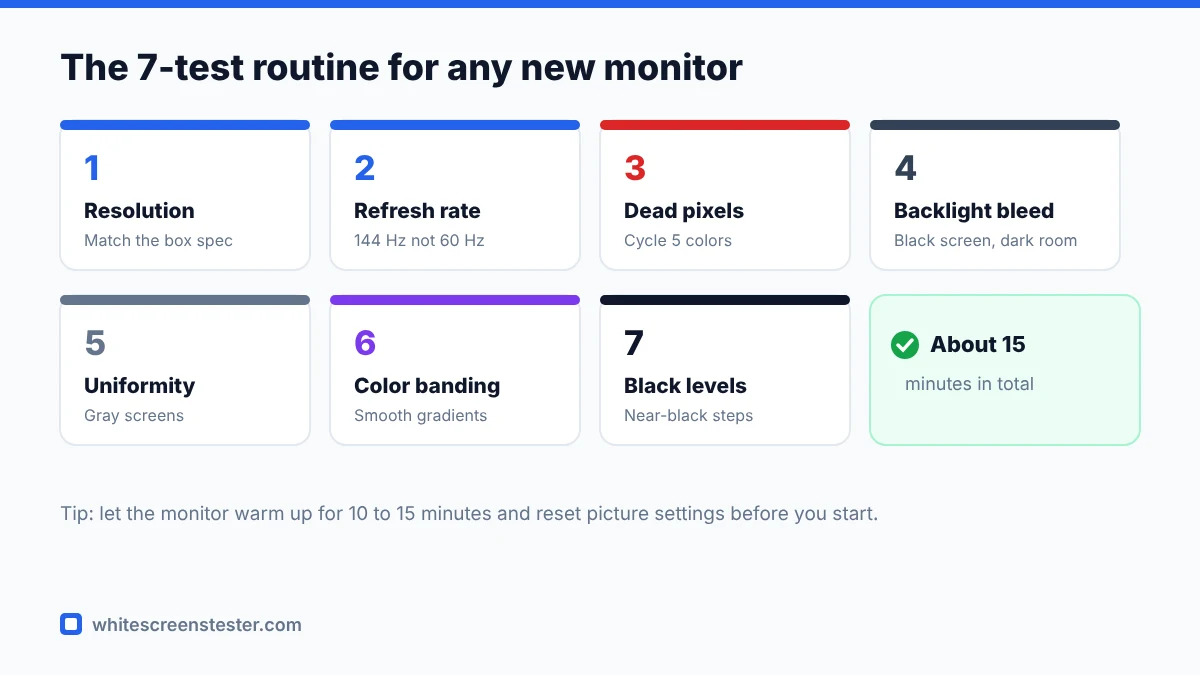
- Let the monitor warm up for 10 to 15 minutes.
- Connect it with the cable you plan to use (DisplayPort or HDMI) and set your computer to the monitor’s native resolution.
- Reset the monitor’s picture settings to default.
- Clean the screen gently first so you do not mistake dust for a fault. See our screen cleaning guide.
- Dim the room for the dark-screen tests.
1. Confirm Resolution and Scaling
Open our screen resolution checker and make sure it matches the resolution on the box. A wrong setting can make text look blurry and hide fine defects.
2. Check the Refresh Rate
A 144 Hz or 165 Hz monitor often runs at 60 Hz by default. Use the refresh rate test to confirm. If it shows 60 Hz, change it in Windows display settings or macOS Displays settings, and check that your cable supports the higher rate.
3. Look for Dead and Stuck Pixels
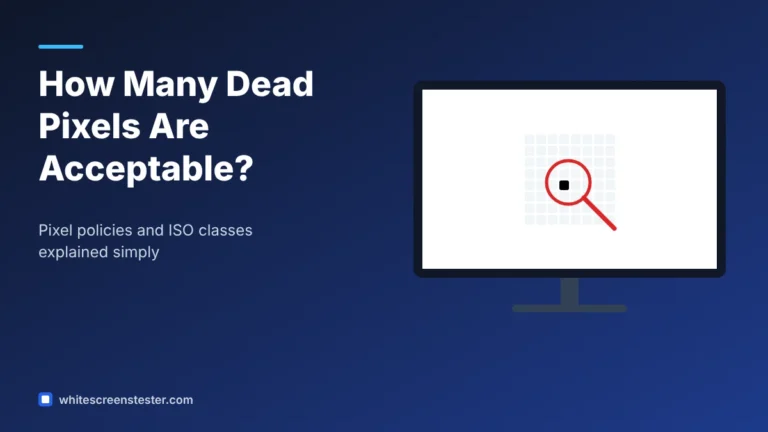
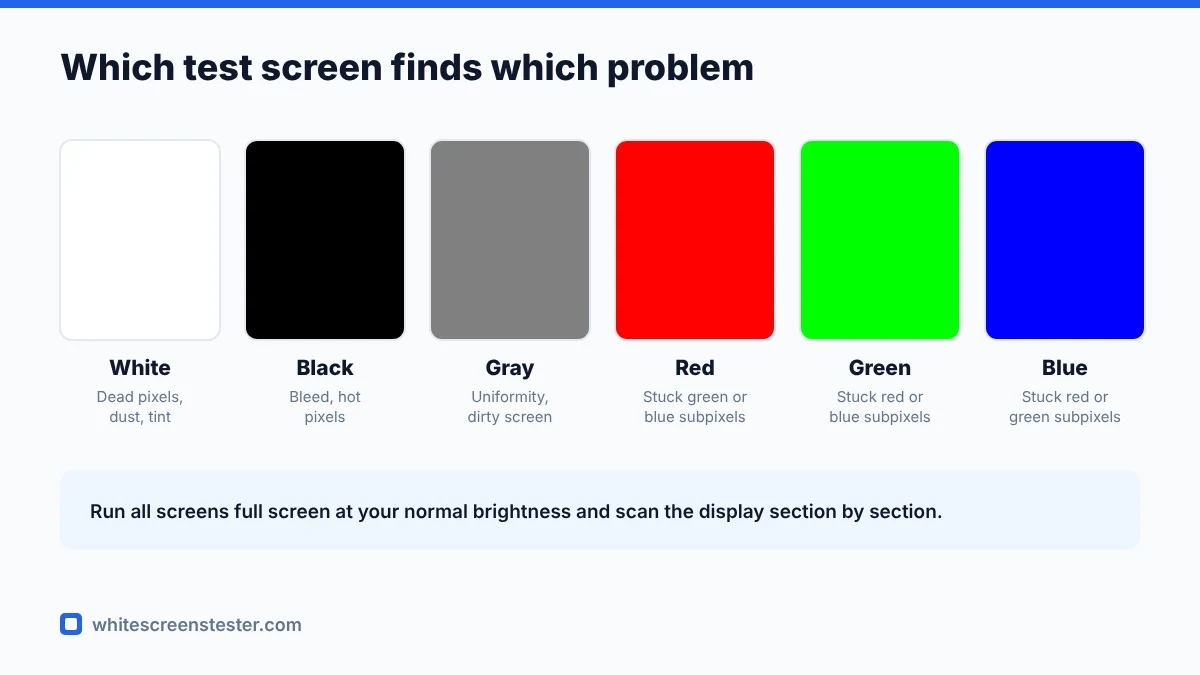
Run the dead pixel test, which cycles through white, black, red, green and blue. Look across the screen section by section. Dark dots on white are dead pixels; coloured dots on black are stuck pixels. Try the stuck pixel fixer on any stuck pixel before deciding to return. See also: how many dead pixels are acceptable.
4. Test for Backlight Bleed and Glow
In a dark room, open the backlight bleed test. Note any bright patches around the edges, then move your head. Patches that stay fixed are bleed; patches that shift with your viewing angle are usually IPS glow. Our guide to backlight bleed vs IPS glow explains the difference.
5. Check Uniformity
Open the screen uniformity test and look at grey screens at different levels. Watch for darker corners, vertical bands or a “dirty” patchy look, especially when you scroll or pan. This is called dirty screen effect and is common on larger panels and TVs.
6. Check Gradients and Colour Banding
Use the color banding test. Smooth gradients should show no hard steps. Some banding at 8-bit is normal, but heavy steps can point to a setting issue, such as limited colour range on HDMI or an aggressive picture mode.
7. Check Black and White Levels
The black level and white level test shows whether near-black and near-white details are visible. If dark steps merge into black, try adjusting brightness, gamma or the RGB range setting on the monitor or graphics driver.
Bonus: Touch and Laptop Screens
For touch screens and 2-in-1 laptops, run the touch screen test to find dead zones. For laptops, also open a full white screen and look for pressure marks near the keyboard and hinge.
Printable Checklist
- Native resolution confirmed
- Correct refresh rate active
- No dead or stuck pixels (or within the pixel policy)
- Backlight bleed acceptable at normal brightness
- No strong uniformity problems or dirty screen effect
- Gradients smooth enough for your use
- Near-black and near-white steps visible
- No scratches, pressure marks or dust under the panel
If You Find a Problem
Take photos, write down what you found and when, and contact the retailer while you are still inside the return window. Retailer returns are usually faster than a manufacturer warranty claim. If you are outside the window, check the manufacturer’s pixel and panel policy for your model before opening a case.
Quick Answers
How long should I test a new monitor?
About 15 minutes covers the basics. Then use it normally for a few days within the return window, as some issues only appear after warm-up or in certain content.
Should I test a used monitor the same way?
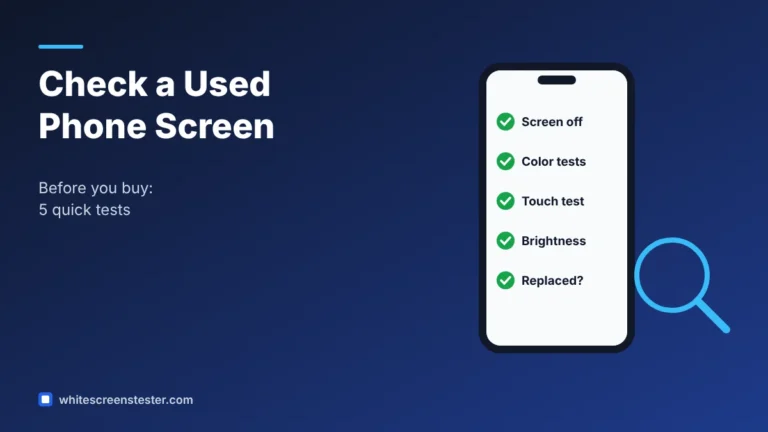
Yes. For used screens, also look for burn-in or image retention with grey screens. For phones, see our guide on checking a used phone screen.